1. Getting Started
Download the PiDeck software and extract the ZIP file. Inside you will find two files.
PiDeck.img
wpa_supplicant.conf
1.1. Writing the image
You need to write the PiDeck.img file to a micro SD card. There are many ways to do this, however the simplest way is to use the RaspberryPI imaging software https://www.raspberrypi.com/software/. Download and install if necessary. Start the software.
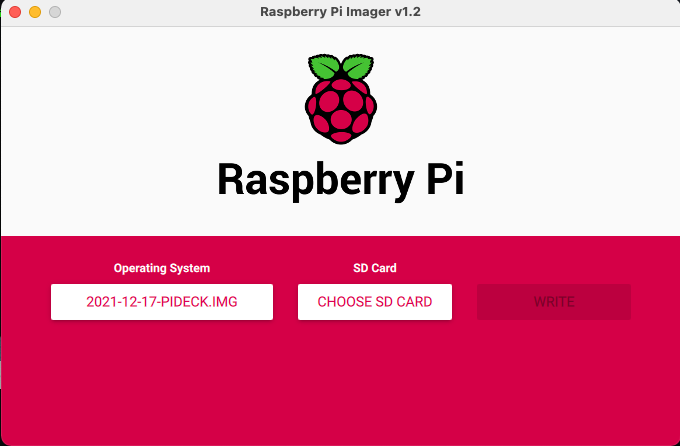
Select the “Operating System” button, scroll to “Use custom” and navigate to where you downloaded and extracted the PiDeck image file.
Install the SD card you wish to use the PiDeck software on. You should then be able to select it by clicking “Choose SD Card”. Finally click on the “write” start the writing process.
1.2. Setting WIFI Details
While the SD card is being written you can prepare the “wpa_supplicant.conf”. This file is used to configure the PiDeck to connect to your WiFi network.
country=uk
update_config=1
ctrl_interface=/var/run/wpa_supplicant


network={
  ssid="WIFI NETWORK NAME"
  psk="WIFI PASSWORD"
}
Edit this file with any text editor such as “notepad” on windows. Change the “ssid” to match your WIFI network name and “psk” to match the WIFI password.
Once the image has been written you will need to remove and reinstall the SD card to have it mount on the desktop. A new drive will appear called “BOOT”, copy the updated “wpa_supplicant.conf” to the “BOOT” drive and then eject the drive and remove it.
Install the SD card in your Raspberry Pi. Connect an HDMI cable to your Blackmagic ATEM or other device.
Note
You must attach an HDMI device and power it on before powering up the PiDeck, otherwise the pideck will not detect the HDMI display and not send videos to it.
You are now ready to power up the PiDeck. The first time the PiDeck boots it will expand the storage to make full use of the SD card. The first boot might take up to 2 minutes to complete depending on the size and which Raspberry pi you used. Subsequent boots should complete in under 1 minute.
Once the PiDeck has completed it’s boot it will display on the HDMI display a splashscreen with it’s IP address.
1.3. Splashscreen
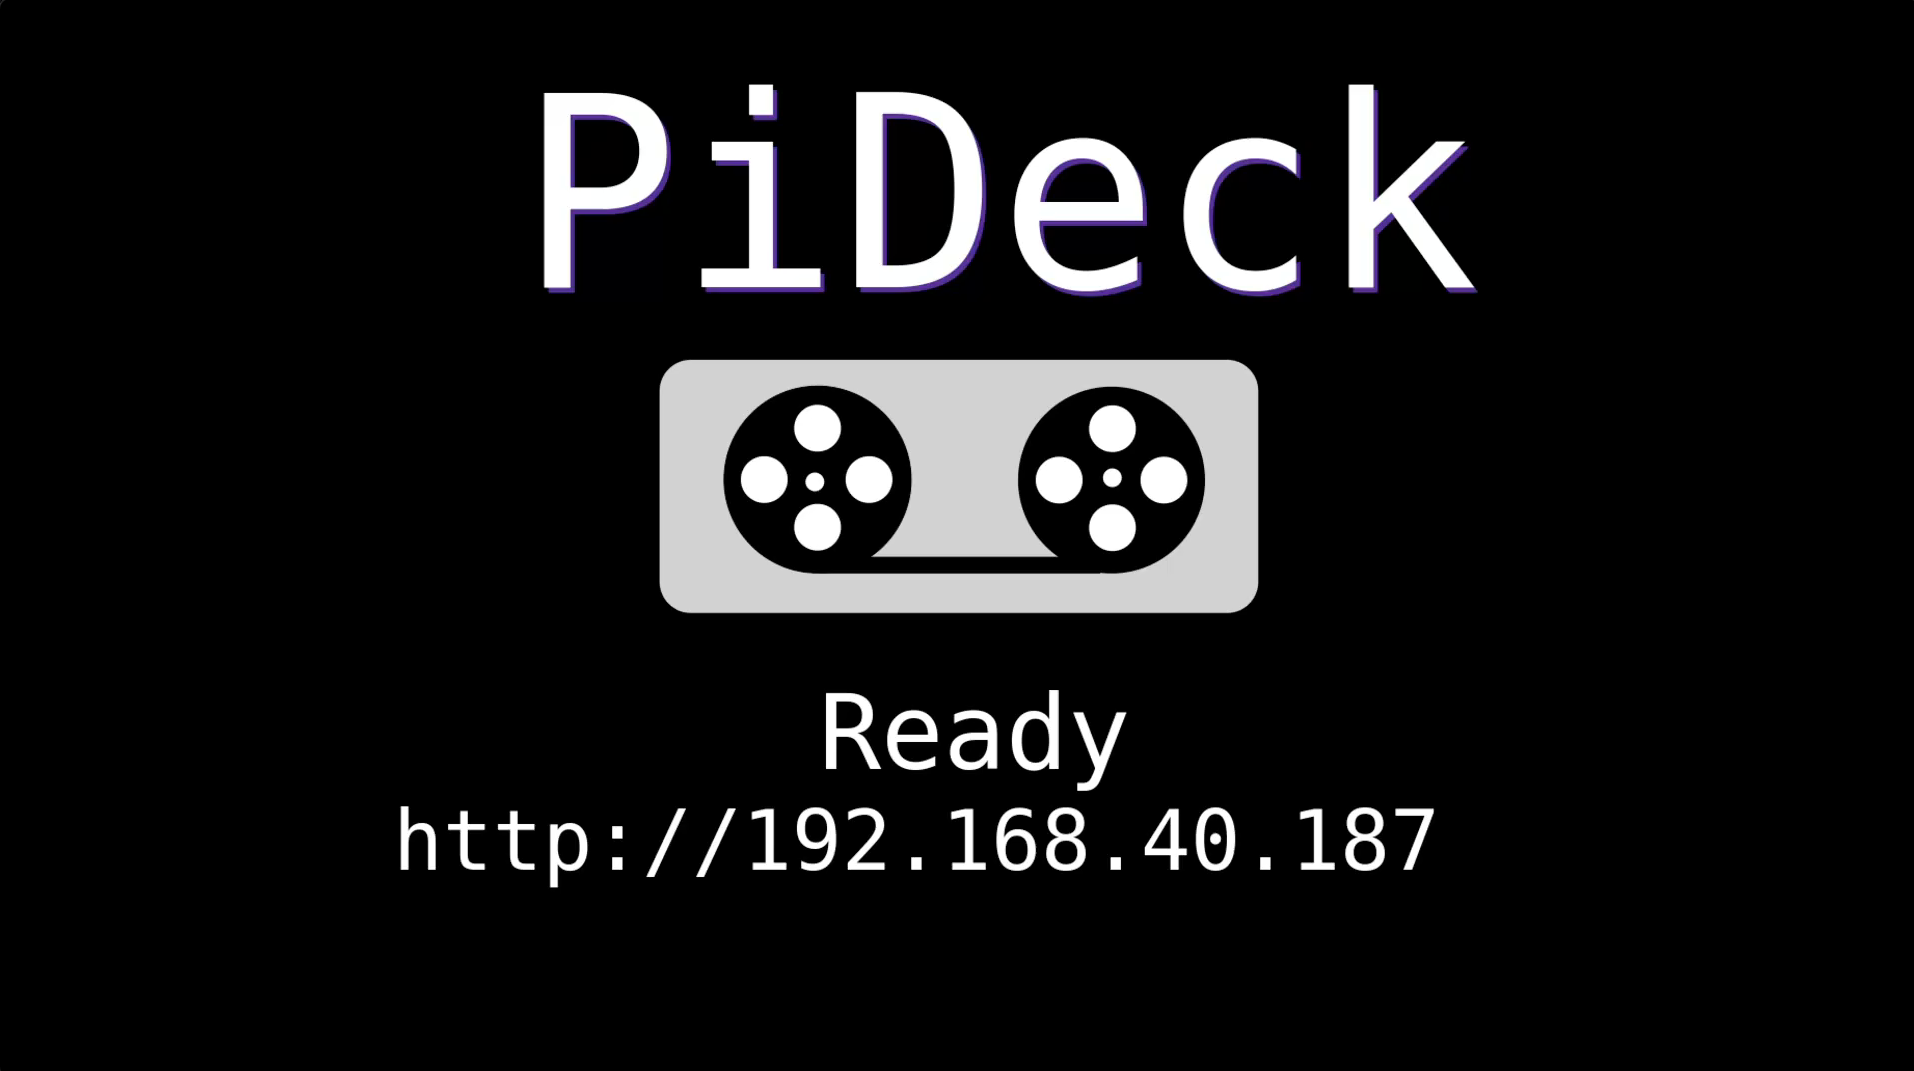
If the PiDeck has successfully joined your WiFi network you will see the IP address it has been assigned.
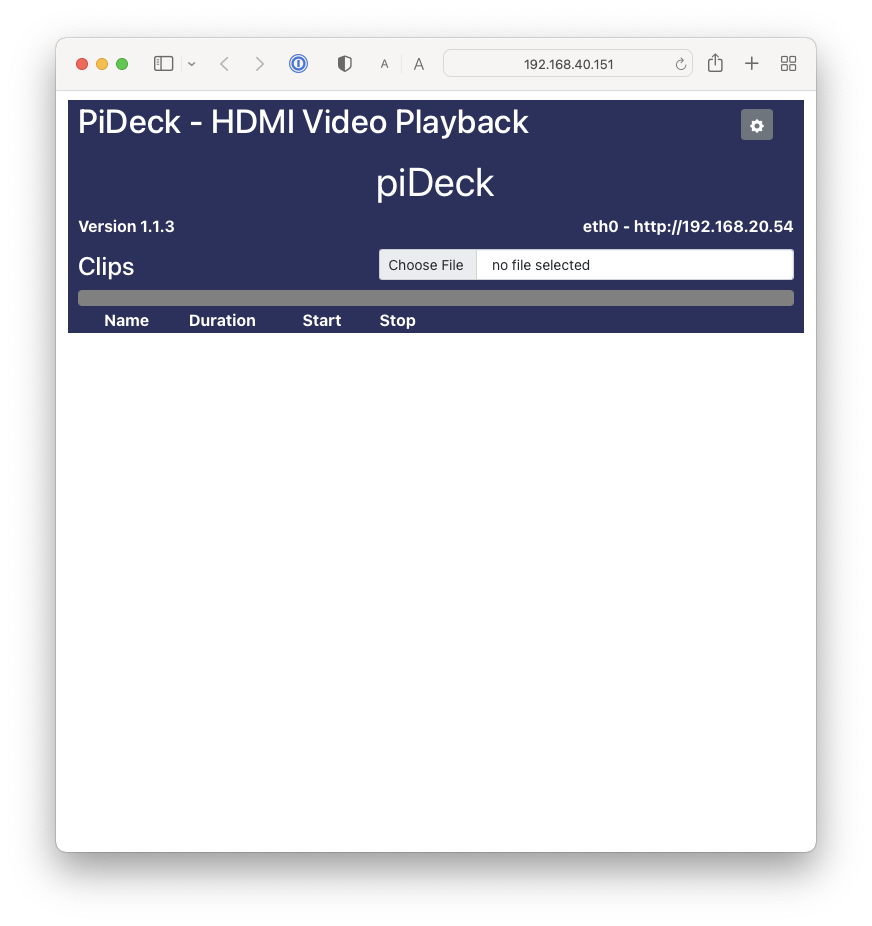
1.4. Web Interface
Bring up a web browser and connect to the IP address of the PiDeck.
1.4.1. Settings
Click on the Cog in the top right will bring up the settings panel
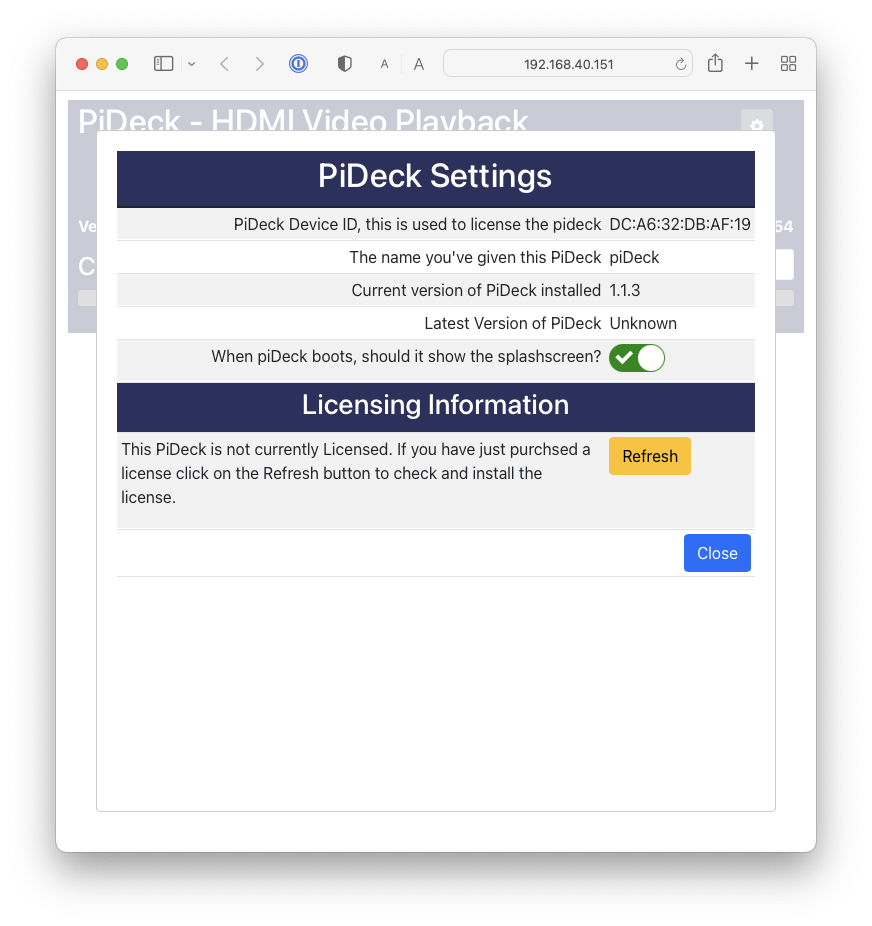
From this panel you can see the device ID at the top of the page which will be used to identify this system to the licensing system.
You can select to turn on/off the display of the splashscreen on boot.
Note
If you turn off the splashscreen nothing will be displayed until a video is selected to play. You will either need to note the IP address to connect again or look it up via the DHCP server.
1.4.1.1. Licensing
When you first turn on the PiDeck it will not be licensed and as such when playing videos you will see “DEMO” text displayed on top of the videos. Once you pay for and license the PiDeck this message will be removed.
The PiDeck needs to contact the license server at regular intervals to verify the license status and if any new version of the PiDeck software is available.
If the PiDeck can’t connect it will continue to function for up to 5 hours after which time it will revert back to demo mode.
To obtain a license create an account on our website and place an order for the number of licenses required. Once purchased you can enter your deviceIDs for each license.
Once you’ve associated the deviceID to a license on the website, you can select “Refresh” to have the PiDeck to check for a license. The PiDeck will also do this periodically and update accordingly.
1.4.2. Naming Your PiDeck
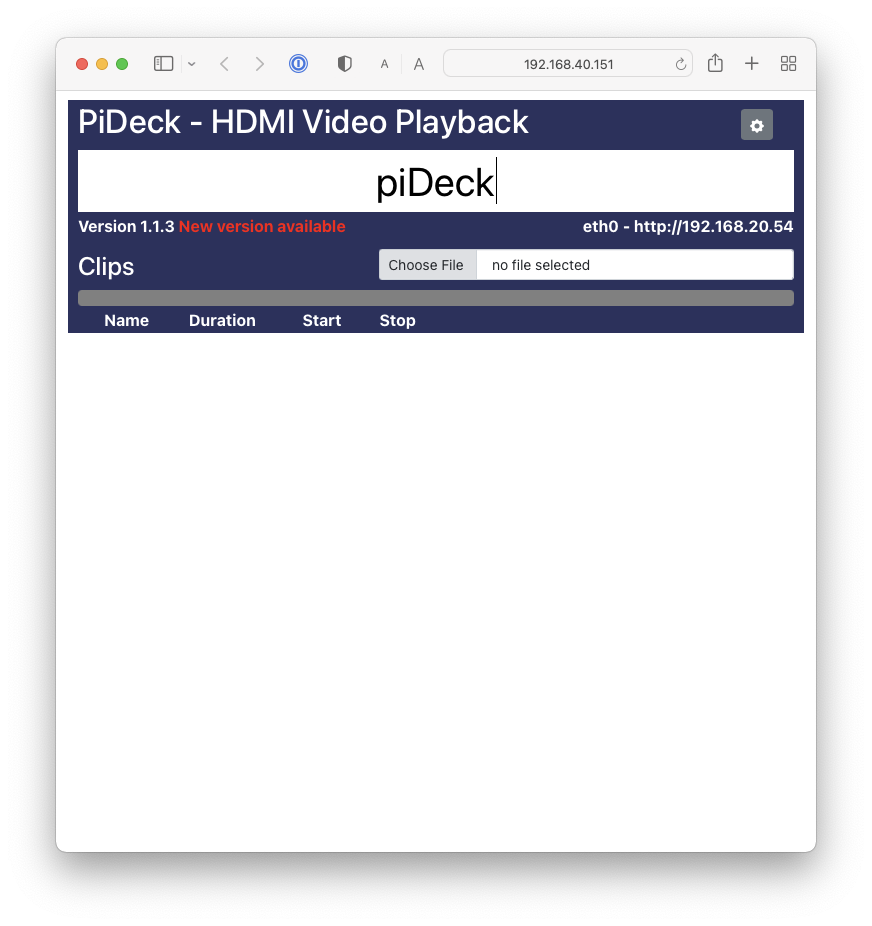
You can change the name of your PiDeck by clicking on the “PiDeck” title. Changing this title changes the title for the webpage and the hostname of the system, looking on DHCP or network logs should also show the change. As this is changing a DNS name you can only use Alpha numeric characters, spaces, dashes etc are not allowed.
1.4.3. Adding Videos
There are two ways to add video clips to the PiDeck.
You can drag and drop to upload.
Directly copy videos to the SD card.
1.4.3.1. Uploading Videos
To upload videos for playback, drag and drop the video on to the “Choose File” on the webpage. A progress bar will be displayed during the upload. Once completed the Clip will appear in the list.
Note
The upload speed is highly determined by the model of Raspberry Pi used.
1.4.3.2. Directly Copying to SDCard
The first time PiDeck boots it will create a new partition on the SDCard filling up all the remaining free space and call it “CLIPS”. This is a FAT32 partition and there should be accessible on any other computer, Mac, Windows or Linux system.
Danger
Make sure the power is removed from the PiDeck before attempting to remove or install the SDCard.
The CLIPS Partition will show up as an additional partition for this SD card, likely next to the “BOOT” one which you might already be familiar with. Copy over any videos to this partition. You should note however that the FAT32 file system has a limit of 4Gb per file.
Once you have completed copying the videos to the SDCard be sure to eject both the BOOT and CLIPS partitions before removing the SDCard.
1.4.4. Managing Clips
The clip can be renamed by clicking on the name and updating it. The clip name should be less than 20 characters so it fits nicely in the GUIs.
Click on the number button on the left side to select the clip for playback.

The selected Clip details will be displayed at the top showing the clip details, including a thumbnail.
For each clip you can define the start and stop time in HH:MM:SS or in raw seconds as well as if the clip should loop. In the list of clips clicking on the field will enable it for change.
1.4.5. Play/Pause
Pressing the “Play” button will start the playback of the clip. The button will change to blue and the trip counters will start to update. The red trip counter counts back from the end of the clip, and the black one counts up from the start.
Pressing the “Play” button while playing a clip will pause the payback, leaving the frame on the HDMI output.
1.4.6. Stop
Pressing the red “Stop” button will stop the playback if it’s playing or paused and return the clip to the start and blank the HDMI output.
1.4.7. Loop
You can request the clip to loop continuously until stopped by pressing the loop button which will turn orange if set.
1.4.8. Timecode
While the clip is not playing, click on the incrementing timecode (Top Black Timecode) and enter a time to jump to. The PiDeck will jump to just before the requested time and then play forward and pause at the requested timecode.

1.4.9. Deleting videos
To delete a video clip, you can select the red delete icon on the right side.
1.5. Connecting to Blackmagic
PiDeck can be connected to a Blackmagic ATEM mixing desk. It will be seen just the same as their “HyperDeck”.
Under the Blackmagic application select the settings panel
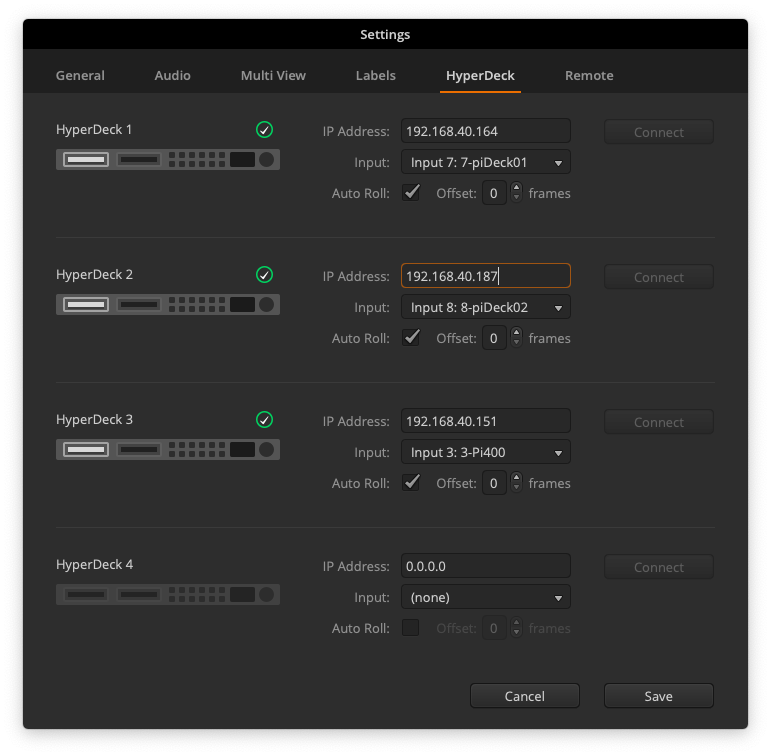
Select the “HyperDeck” tab and enter the IP address of your PiDeck device. If you want the PiDeck to auto start playback when the input is transitioned to program, make sure to select “Auto Roll”.
Under “Media Players” on the right side of the Blackmagic application you should now see your HyperDecks, with the clips you’ve uploaded ready to be used.
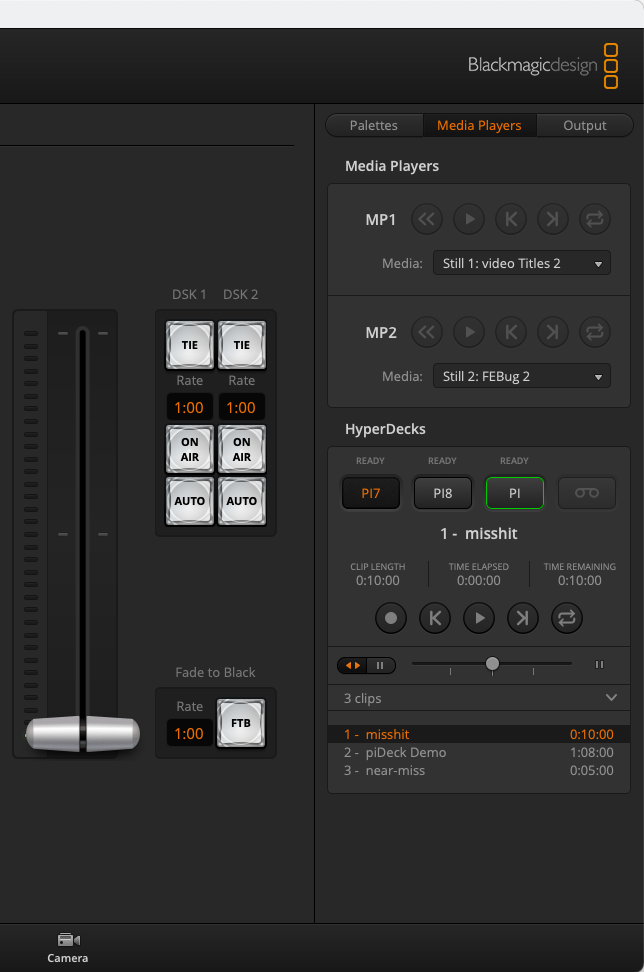
You can make use of the controls here as well to select, play, pause, stop and loop your clips. Changes made here are reflected in the web GUI and vise versa.
1.6. Connecting to Bitfocus Companion
PiDeck is emulating a Blackmagic HyperDeck Studio. This means when connecting the PiDeck to Companion you can select the Blackmagic HyperDeck module. Note not all the features of HyperDeck are supported, for example the PiDeck does not support recording.
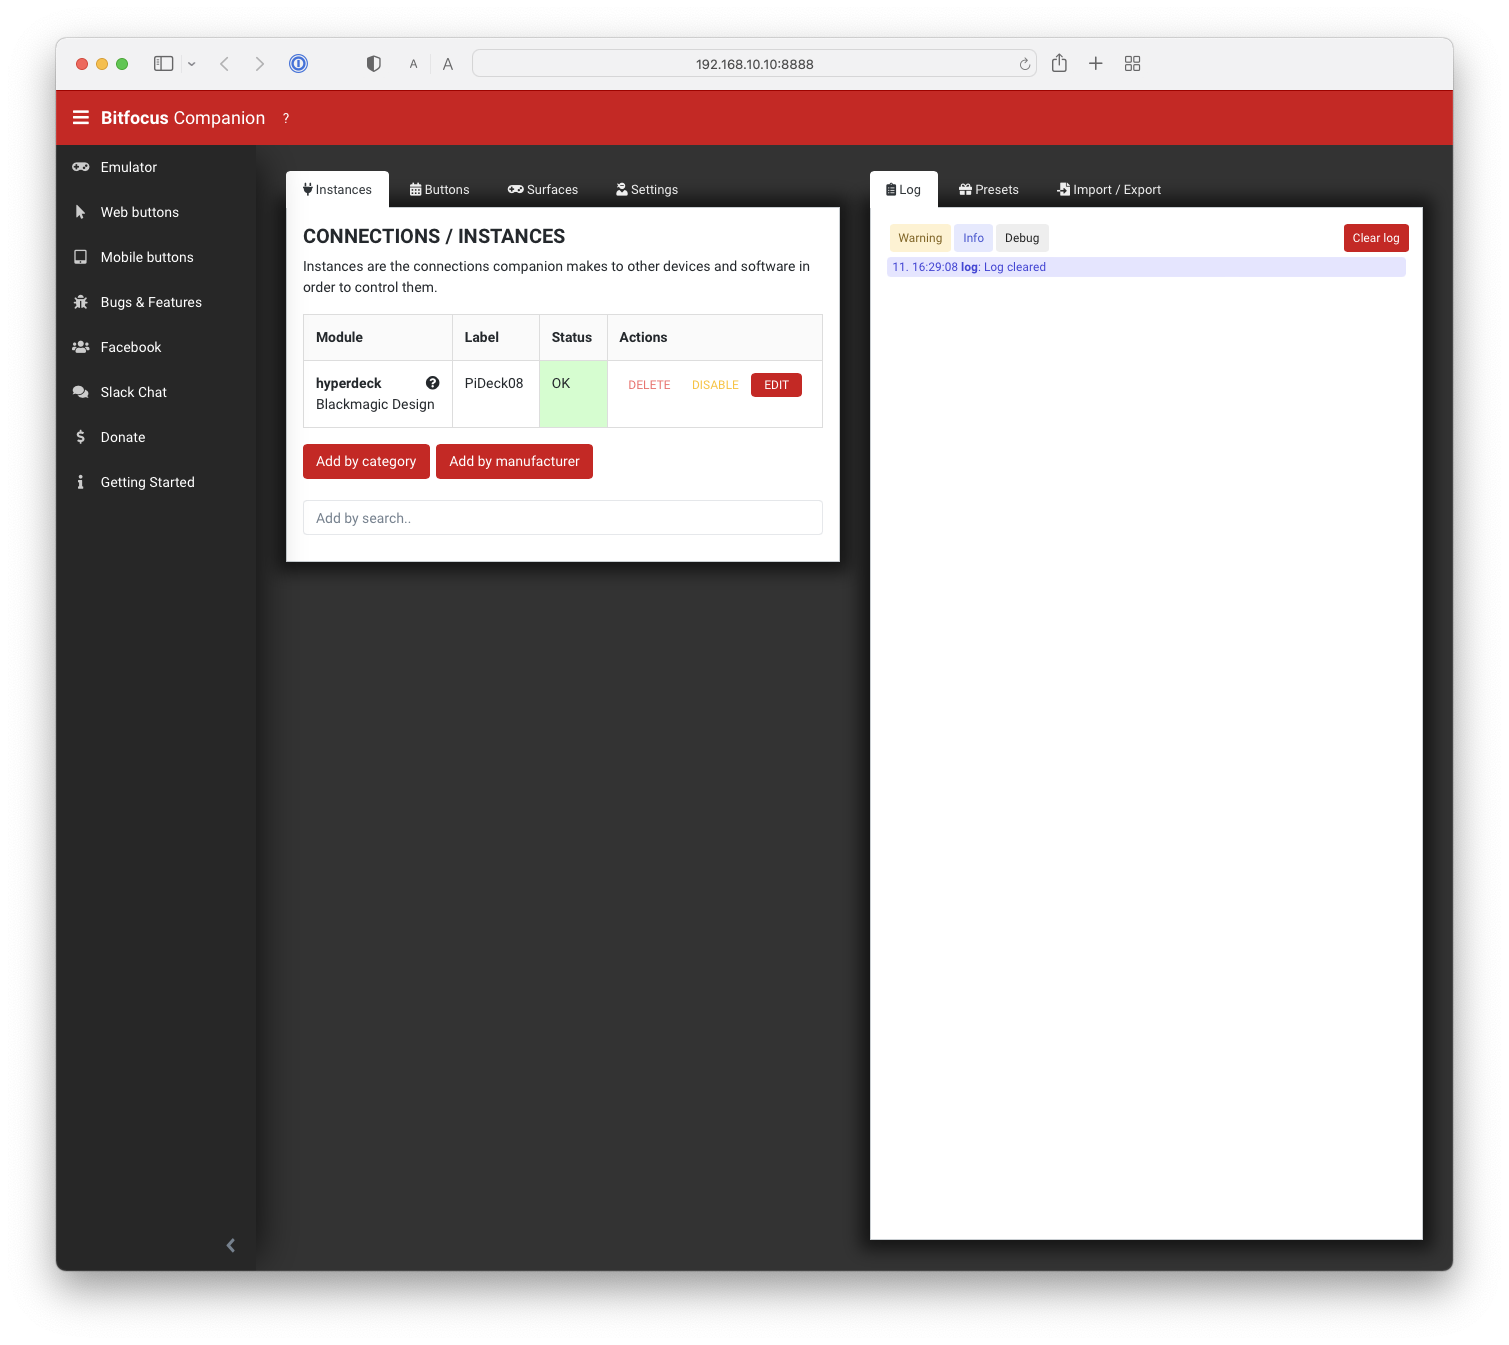
To add your PiDeck to companion, simply give it a name, enter the IP address and select “HyperDeck Studio”. Selecting “Polling” for the timecode variables. Once you apply the changes you should see the current variable status and in the log confirmation of the connection succeeding.
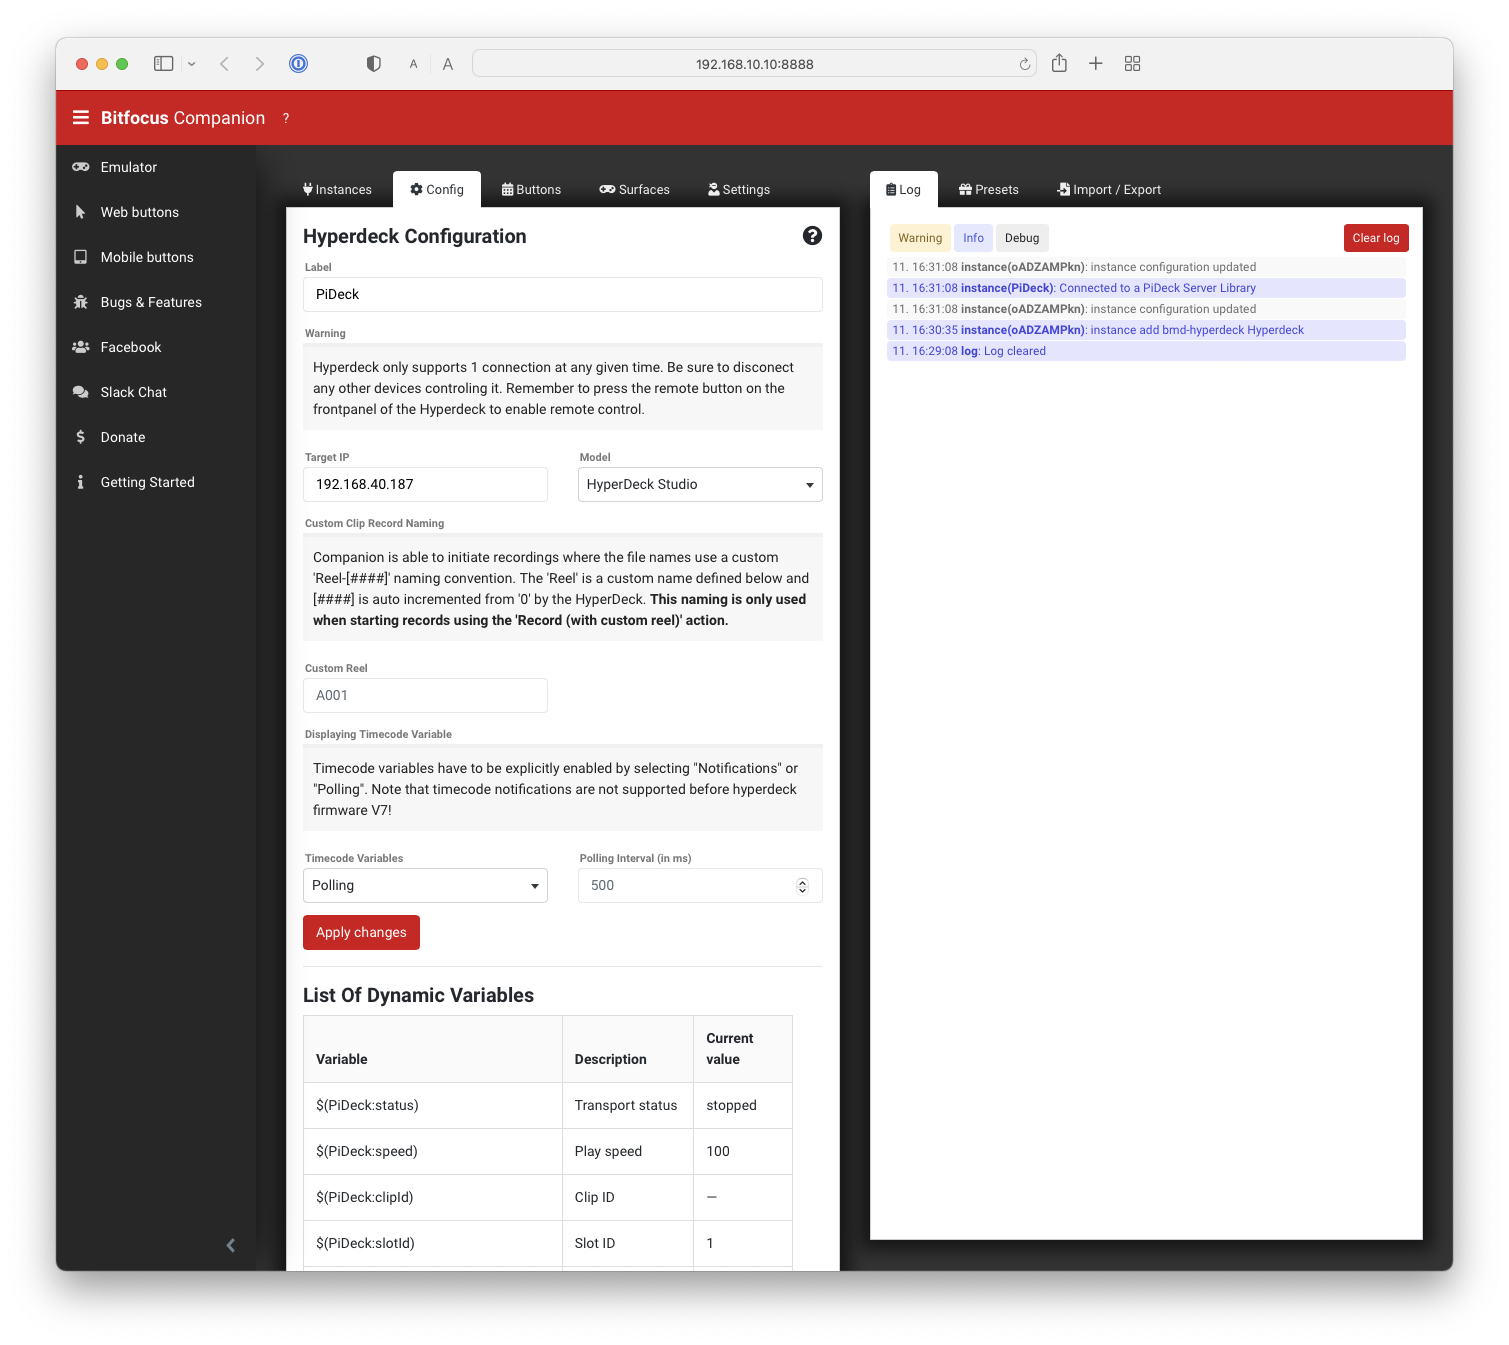
You can now add buttons as you normally would.